Thursday 19 March 2009

Tomato, Ricotta & Basil Tart

Taking a break from The Biscuit Tin Mission, and returning to the Cookbook Mission, (loving these various mini projects) my next bake was – shock horror – savoury.
bourbons et basil 005
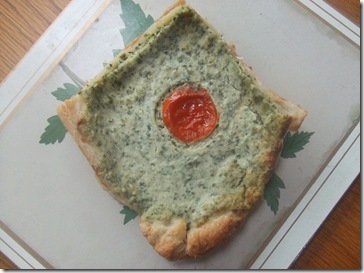
Everyone loves this tart! I had it ages ago and it is a surprise favourite thing, and now all the family enjoys it. It is extremely quick and easy to make: you just blend the basil and ricotta mix and spread it on rolled out pastry. You could make it more complicated by trying your own pastry or something but really there is no need: this is the perfect weekday dinner. It is quite hard to describe why it is so good – but just try it and it is crystal clear! The crunchy pastry is perfect with the soft and creamy ricotta topping, and all finished off with sweet and juicy tomatoes.
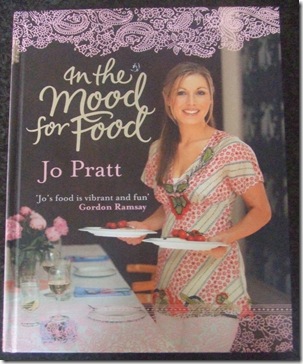
bourbons et basil 009The recipe is from Jo Pratt’s “In the Mood for Food”. I haven’t cooked from it before but I have read it and it is a lovely book. The food is split by chapters like “In the Mood for Being Extravagant” , “In the Mood for Comfort” and “In the mod for Being Healthy”. The tart I made comes under “In the Mood for Being Lazy” which is appropriate seeing how easy it is! I also like the look of the Lemon Cheesecake Muffins, Chicken Leek and Ham Pies or the Lamb Steaks with Lemon Pesto. I am pleased to say this tart has made me realise baking savoury is fun :) and I may well go savoury again.
Tomato, Ricotta and Basil Tart from In the Mood For Food by Jo Pratt.
Serves four to six
375g ready rolled pastry
250g ricotta cheese
2 large eggs, lightly beaten
35g parmesan cheese, grated
1 clove of garlic, crushed
a LARGE bunch of basil leaves, finely shredded
salt and pepper
6 ripe tomatoes
olive oil
1. Preheat the oven to 180’C/gas 6. Place the pastry onto a lightly oiled baking tray and prick with a fork.
2. Mix together the ricotta, eggs, parmesan, garlic, basil and seasoning and beat until smooth ( I do this in a food processor). Spread over the pastry base leaving a 2cm border.
3. Arrange the tomateos on top of the ricotta. Season lightly and drizzle over a little olive oil.
4. Bake for 25minutes until the filling has lightly set and the pastry is golden.
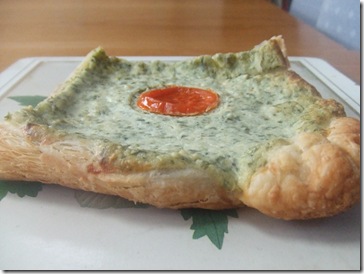
bourbons et basil 007

Thursday 12 March 2009

Gypsy Creams

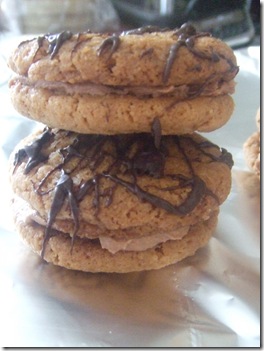
“I drizzled dark chocolate from a height so it set into crisp lines over the craggy surface. Behold, a biscuit of great, great joy!”
Nigel Slater
gingernuts 003
Ahh, the fabulous words of Nigel Slater! Since my post where I mentioned how I seemed to be baking through the biscuit tin, it has become my mini mission! I was going away for the weekend last weekend, and I wanted something simple which I could bake there as the kitchen is much smaller there. These little biscuits were in the latest Sainsbury's Magazine (so go along and get it!) and seemed just the ticket.
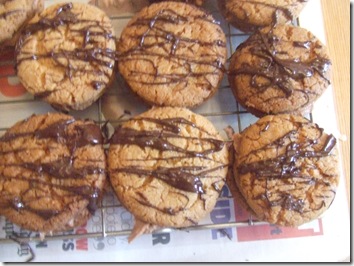
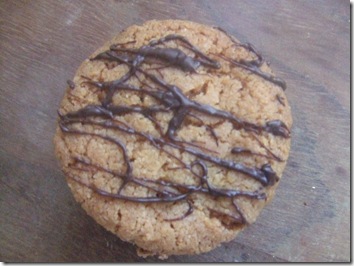
gingernuts 015Before sandwiching, these are the humble gingernut. Afterwards, they are glorious crispy gypsy creams! The ginger biscuit itself has a lovely sandy texture, but still with a good crunch on the outside. Combined with the chocolate and coffee buttercream filling these were super! Sometimes buttercream is too sickly, but I think the coffee countered it well. In his article, Nigel Slater mentions how he tried dipping the whole biscuit in melted chocolate but that “good cooking is about knowing when to stop” and “it turned out to be too much of a good thing”. I can see why that would be, but totally agree that the sharp drizzle of dark chocolate over the top adds an extra something special (and it really should be dark chocolate, milk would be too sickly). One note: I chose not to level off the ginger, knowing I would want a stronger taste. However if you were going to do them minus the filling (which you could as they would be equally delicious) I would stump it up even more. Now, what next…chocolate bourbons? Enjoy!
Chocolate gypsy creams
Makes 12-14
For the Biscuits:
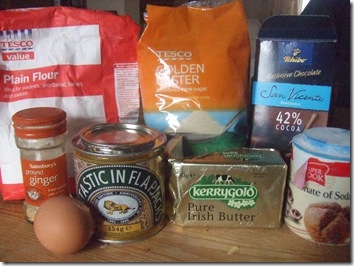
gingernuts 001125g butter
125g golden caster sugar
1tbsp golden syrup
1 large egg yolk
175g plain flour
1tsp ground ginger
50g dark chocolate
Filling:
gingernuts 002
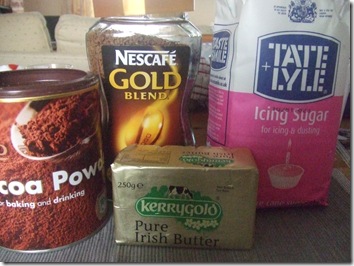
75g butter
100g icing sugar
1tbsp cocoa powder
1tbsp strong coffee
1. Preheat the oven to 160’C/Gas Mark 3. Cream the butter and sugar until light and fluffy. Mix in the syrup and egg yolk.
2. Sift the flour, baking powder and ginger together and stir gently into the butter and sugar. Bring together to form a dough.
3. Remove heaped teaspoons of the dough, roll them lightly into balls then put them on nonstick baking sheets. Bake for 15-20 minutes until golden. Leave to cool slightly before transferring to a wire rack.
4. To make the filling, beat the butter and sugar until light and fluffy. Beat in the cocoa and coffee before using to sandwich the biscuits together.
5. Break the chocolate into small pieces and melt in a small bowl over a pan of simmering water. When the chocolate has melted, push all the filled biscuits up close together on the wire rack, then, using a teaspoon, drizzle the chocolate over them in thin lines. Leave until the chocolate has set.
gingernuts 011

Thursday 5 March 2009

A Wonderful…

plum and almond cake!
;) 066
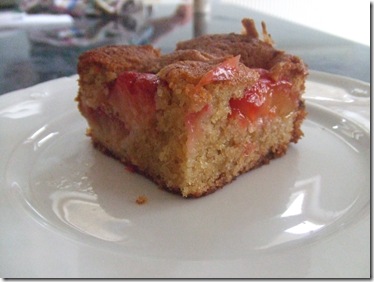
Another plum recipe! Plums are definitely one of my new favourite fruits – up there with rhubarb, strawberries and raspberries. They are not really one thing in particular, but a fruit full of contradictions:With all three there is something about their glorious pink/red/purple colours, their soft-yet-firm touch and sweet-but-sharp taste!. This plum and almond cake above is from Nigel Slater’s book, The Kitchen Diaries. I was actually looking for a marble cake at the time (last post), but found this! Ahh, thank goodness for cookbook indexes.
;) 065
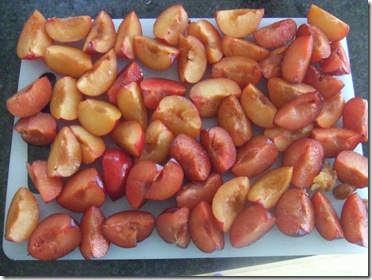
The Kitchen Diaries is exactly what it sounds – a year of Nigel Slater’s diary of what he has cooked and bought (food-wise) each day. Some days it is simply “was very tired – bought a pizza” but most of it is gorgeous descriptions of the food he has bought, markets he has visited and recipes he made. I was a bit worried about the cake when it came out the oven – it was very moist, but the title of the cake restored my faith in it! It was absolutely delicious, really almondy and sweet then you get a burst of flavour from the plums! I couldn’t fit all the ones above into the cake so I made some more plum compote which, happily, was delicious with the cake! Definitely worth a try for any fellow plum fans.
A wonderfully, moist, fresh plum cake from The Kitchen Diaries by Nigel Slater
Enough for 12

150g butter
150g unrefined golden caster sugar
16 plums
3 large eggs
75g plain flour
1 1/2 teaspoons baking powder
100g ground almonds
1. Set the oven to 180’C?/Gas Mark 4. Line the base of a square 20cm cake tin, about 6cm deep, with a piece of baking paper.
2. Beat the butter and sugar until pale and fluffy. I stop only when the mixture if light, soft and the colour of vanilla ice-cream.
3. Halve the plums, remove the stones and cut each half in two.
4. Break the eggs, beat them lightly with a fork, then add them bit-by-bit to the butter and sugar. Sift the flour and baking powder together and fold them gently into the mixture. I do this with a large metal spoon rather than the food mixer. Fold in the ground almonds.
5. Scrape the mixture into the lined cake tin. Place the quartered plums onto the cake mixture (do not worry about precision here – they sink into the cake).
6. Bake for 45minutes then test for doneness with a skewer. If it comes out clean then the cake is ready. Remove the cake from the oven and leave to cool in the tin for 15minutes before turning out.

Monday 2 March 2009

Marble Cookies

Recently we had an abundance of chocolate in the house. Dark chocolate, milk, white, chunks – way more than we usually have. It was begging to be used – and I wasn’t complaining ;D

;) 061

My first thought was to make a marble cake – have dark chocolate and white chocolate flavoured mixtures all nicely swirled in one loaf. But literally none of my books had a simple recipe like this! So, that was out. But I still liked the marble idea so I chose marble cookies.

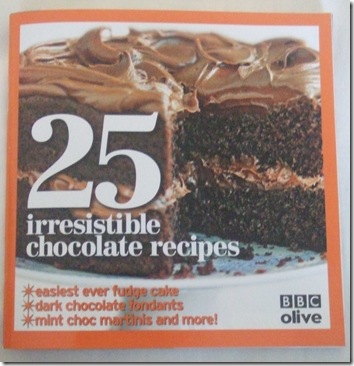
I thought about melting the light and dark chocolates and incorporating into the halved mixes, but apparently the chocolate flavour doesn’t come through when you do that. Why? Anyway, then I found this little booklet which came with the latest issue of Olive magazine:

;) 004

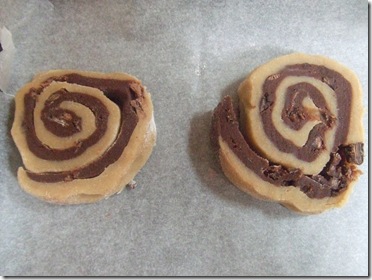
I love these little books! Its well worth buying the magazine just for them (although Olive is a very good magazine). Some of the chocolate recipes were a bit random (chocolate martini, anyone?) but also inside was the recipe for “black and white pinwheel cookies”. You get the swirled look by laying the chocolate dough on top of the vanilla dough, and rolling it up like a Swiss Roll. The recipe itself just puts cocoa powder in the chocolate half, but I used some of our dark chocolate chunks and put them in. They made it a bit harder to roll and cut flat, but the taste was worth it! For the plain dough, I added some extra vanilla essence to make the dough stand out more.

;) 005

In the end result, I think these cookies were okay. I am no1 cookie fan so I still managed to eat a good few :) but I think they could have had something a bit more special. I could try putting white chocolate in the vanilla dough, or perhaps orange for an orange/chocolate combination. They were not the best use for the chocolate abundance – but they were yummy and it just means there is another excuse to use more chocolate next time!

Black and white pinwheel cookies

Makes 40

unsalted butter 200g

golden caster sugar 150g

vanilla extract 2tsp

1 egg

plan flour 300g, sifted

cocoa 25g

1. Cream the butter and sugar using an electric mixer or hand-held electric beater.

2. Beat in the vanilla and egg, then add the flour. Beat until smooth, remove from the bowl, halve and beat the cocoa into one half. Shape both dough portions into rough oblongs. Wrap in cling film and chill for 30 minutes until firm.

3. Roll out each dough to £1 thickness, trying to keep the oblong shape. Put the chocolate dough on top of the white dough and trim the edges to neaten. Roll up lengthways like a Swiss roll, then wrap in cling film and chill for 45mins.

4. Heat the oven to 180C/fan 160/gas 4. Slice the dough into discs as thinly as you can, put them on a non-stick baking sheet and cook for 15minutes. Cool on wire racks.

;) 063

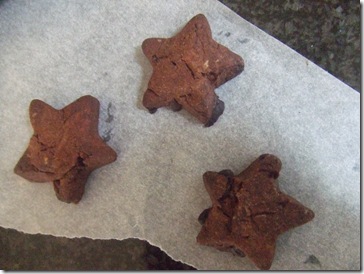
There was a bit more chocolate dough than plain, so I made some more chocolate biscuit shapes with it. Until next time :)